

PX4 MAVLink-Python Programming : 3. Connecting to the drone
Hello! This is Aiden from the Marketing Team.
Today, I would like to introduce PX4 MAVLink-Python programming, specifically focusing on how to ‘Connect’ to a drone. Please note that this content is copyrighted by QUAD Drone Lab, and we kindly ask that you refrain from unauthorized distribution.

Connecting to a drone
Overview
The mavutil module provides the mavlink_connection() method to establish a communication link to a MAVLink system via serial, TCP, or UDP channels. It can also connect to file objects, which is particularly useful when working with telemetry logs.
his method returns an object representing a single system, but it collects messages from multiple systems on the link. While this is suitable for a two-system network, please refer to source-system-filtering if you need to connect via a multi-vehicle IP network.
The mavlink_connection() method takes a connection string that defines the channel, along with several optional arguments for setting the baud rate and other link properties (note that the format of the connection string may automatically set or override some optional arguments).
Connection String
The format for the connection string in mavutil.mavlink_connection() is as follows:
[protocol:]address[:port]protocol:
- Protocol (Optional): This specifies the IP protocol. If not specified, pymavlink will attempt to determine if the address is a serial port (e.g., USB) or a file; otherwise, it defaults to a UDP address.
tcp: Initiates a TCP connection at the specifiedaddressandport.tcpin: Listens for an incoming TCP connection at the specifiedaddressandport.udpin: Listens for incoming UDP packets at the specifiedaddressandport.udpout: Initiates a UDP connection to the specifiedaddressandport.udp: By default, this is identical toudpin. However, setting the parameterinput=Falseinmavlink_connection()makes it behave the same asudpout.udpcast: A broadcast UDP address and port. This is equivalent to setting themavlink_connection()parameters toinput=Falseandbroadcast=True.address: The IP address, serial port name, or filename.port: The IP port number (required only if the address is an IP address).
Listed below are some example strings that can be used for various types of connections:
| Connection Type | Connection String | Notes |
| Linux computer connected to a vehicle via USB | /dev/ttyUSB0 | Standard for most USB-to-Serial adapters. |
| Linux computer (e.g., Raspberry Pi) connected via Serial Port | /dev/ttyAMA0 | Requires setting baud=57600. |
| MAVLink API receiving SITL connection via UDP | udpin:localhost:14540 | Also udp:localhost:14540. Supported by PX4. |
| MAVLink API initiating SITL connection via UDP | udpout:localhost:14540 | Also udpout:127.0.0.1:14540. |
| GCS connected to a vehicle via UDP | 127.0.0.1:14550 | Or udp:localhost:14550. |
| SITL connected to a vehicle via TCP | tcp:127.0.0.1:5760 | ArduPilot only; PX4 does not support TCP. |
| OSX computer connected to a vehicle via USB | /dev/cu.usbmodem1 | macOS specific device path. |
| Windows computer connected via USB | COM14 | Example port; check Device Manager for your specific COM number. |
| Windows computer via 3DR Telemetry Radio | COM14 | Requires setting baud=57600. |
MAVLink does not formally define UDP ports for different purposes; however, there is a de facto standard that MAVLink APIs should listen for SITL connections on UDP port 14540, while Ground Control Stations (GCS) should listen for connections on UDP port 14550.
Practice (Hands-on Lab)
Creating a Practice Environment
In this course, we will use VS Code (Visual Studio Code) as our primary code editor. Please refer to the link for installation instructions.
Create a project directory and open the VS Code editor. (If you are using the training VM, it is already pre-installed.)
mkdir ~/pymavlink
cd ~/pymavlink
code .Writing a Connection Setup Example
Create a file named listen.py and write the code as shown below.
from pymavlink import mavutil

# Start a connection listening on a UDP port
# UDP 14550 for primary GSC
#the_connection = mavutil.mavlink_connection('udpin:localhost:14550')
#for ArduPilot
#the_connection = mavutil.mavlink_connection('tcp:localhost:5763')
#for PX4-SITL
the_connection = mavutil.mavlink_connection('udp:localhost:14540')

# Wait for the first heartbeat
#   This sets the system and component ID of remote system for the link
the_connection.wait_heartbeat()
print("Heartbeat from system (system %u component %u)" % (the_connection.target_system, the_connection.target_component))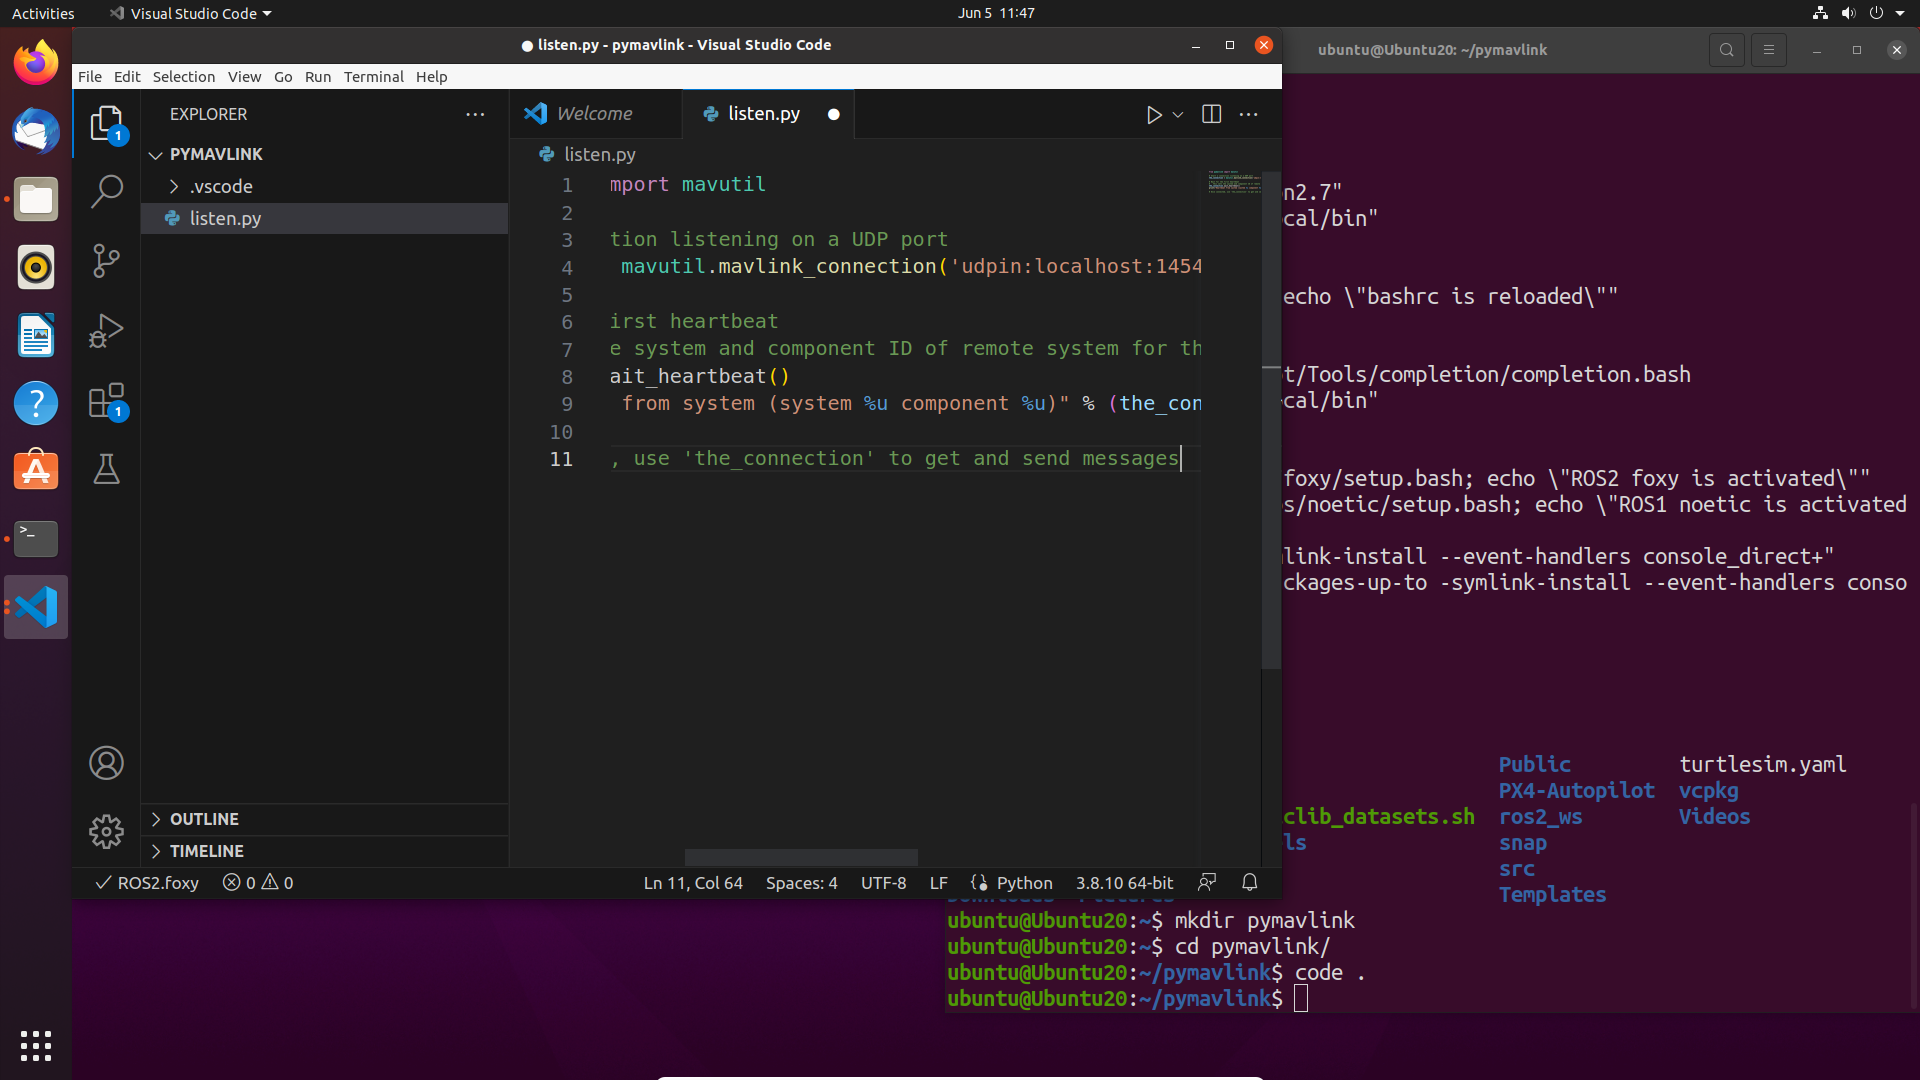
Launching ArduPilot SITL
cd ~/ardupilot/ArduCopter
sim_vehicle.py -v ArduCopter
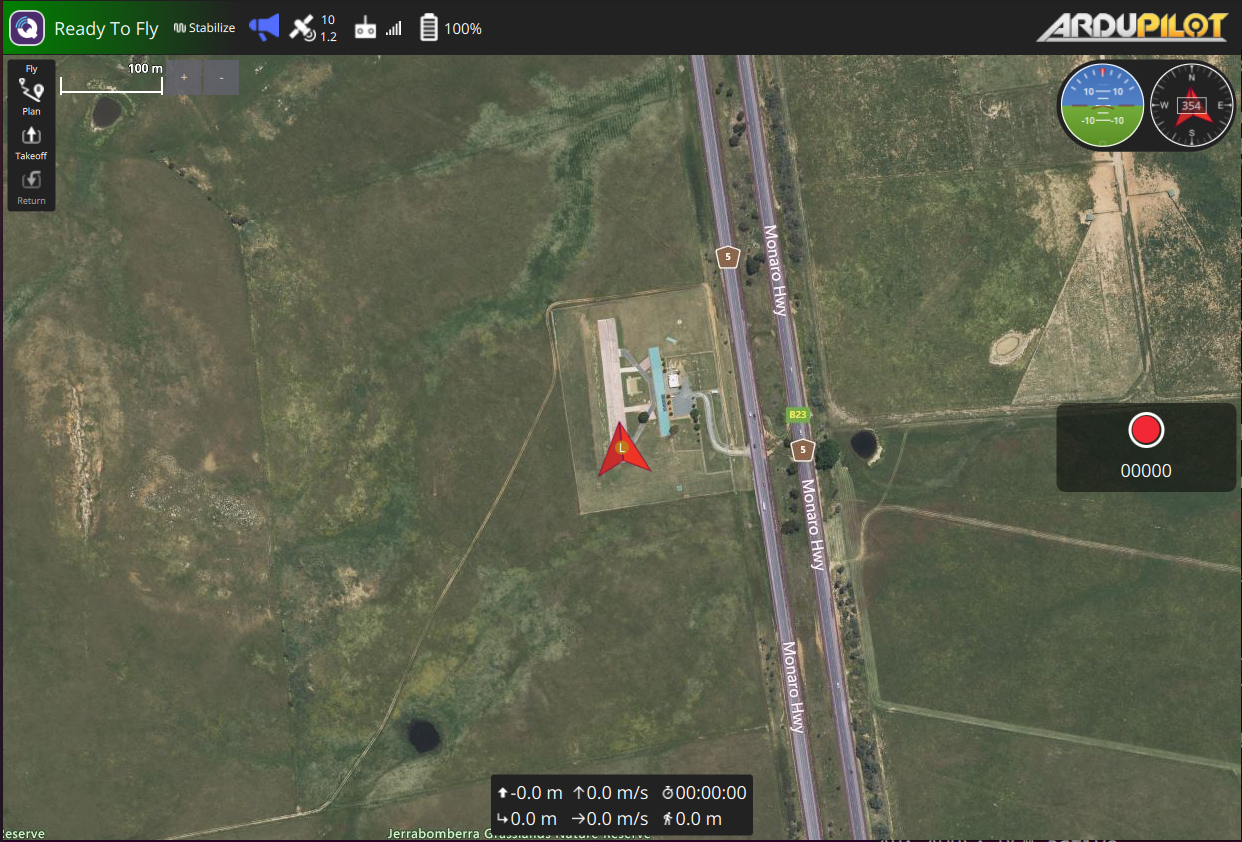
Once SITL is running properly, launch QGroundControl.
Running the Example Program
$ python3 listen.py
Heartbeat from system (system 1 component 0)After running your first listen.py program, you can see the result of connecting to the drone and receiving a Heartbeat message.
Now, let’s add the following lines to the end of your code.
Using the recv_match method on the the_connection instance created by mavutil.mavlink_connection, this code will print every message received via MAVLink.
while 1:
msg = the_connection.recv_match(blocking=True)
print(msg)You can view all incoming MAVLink messages as shown below.
$ python3 listen.py
Heartbeat from system (system 1 component 0)
ATTITUDE {time_boot_ms : 7432233, roll : 0.0012512498069554567, pitch : 0.0010204593418166041, yaw : -0.10418491810560226, rollspeed : 0.00018897373229265213, pitchspeed : 0.0002900350373238325, yawspeed : 0.000815636245533824}
GLOBAL_POSITION_INT {time_boot_ms : 7432233, lat : -353632622, lon : 1491652375, alt : 584060, relative_alt : -26, vx : -1, vy : 1, vz : 0, hdg : 35404}
SYS_STATUS {onboard_control_sensors_present : 1467087919, onboard_control_sensors_enabled : 1382128687, onboard_control_sensors_health : 1467063343, load : 0, voltage_battery : 12587, current_battery : 0, battery_remaining : 100, drop_rate_comm : 0, errors_comm : 0, errors_count1 : 0, errors_count2 : 0, errors_count3 : 0, errors_count4 : 0}
POWER_STATUS {Vcc : 5000, Vservo : 0, flags : 0}
MEMINFO {brkval : 0, freemem : 65535, freemem32 : 131072}
NAV_CONTROLLER_OUTPUT {nav_roll : -0.00024070088693406433, nav_pitch : 0.00018201448256149888, nav_bearing : -5, target_bearing : 0, wp_dist : 0, alt_error : 0.026932982727885246, aspd_error : 0.0, xtrack_error : 0.0}
MISSION_CURRENT {seq : 0}Now, we will filter the incoming messages to display only the “ATTITUDE” type.
Modify the code you previously added as follows:
while 1:
    msg = the_connection.recv_match(type='ATTITUDE', blocking=True)
print(msg)Execute the script.
$ python3 listen.py
Heartbeat from system (system 1 component 0)
ATTITUDE {time_boot_ms : 7906233, roll : 0.0012596407905220985, pitch : 0.0010401400504633784, yaw : -0.10935219377279282, rollspeed : 0.0002872312907129526, pitchspeed : 0.000264745089225471, yawspeed : 0.0008267931989394128}
ATTITUDE {time_boot_ms : 7906483, roll : 0.0012574875727295876, pitch : 0.0010377863654866815, yaw : -0.10930610448122025, rollspeed : 0.0003205988323315978, pitchspeed : 0.00030788395088166, yawspeed : 0.0008285849471576512}You can now see that only ATTITUDE type MAVLink messages are being displayed.
YouTube Class
This concludes the third stage of PX4 MAVLink-Python Programming: Connecting to a Drone. In the next post, we will return with a deep dive into Exchanging MAVLink Messages.

Author: Aiden, Marketing Team at QUAD Drone Lab
Date: February 25, 2026
![[MAVSDK C++ Part 4] Building Your Own App: Project Setup and Drone Connection](https://quad-drone-lab.co.kr/wp-content/uploads/2026/03/0314_인포그래피-768x512.png)
![PX4 MAVSDK – C++ Programming [Episode 10] Custom Logging and Integration Testing (gtest)](https://quad-drone-lab.co.kr/wp-content/uploads/2026/03/0320_인포그래피-768x419.jpg)
![PX4 MAVSDK – C++ Programming [Episode 7] Moving to a Specific Location (goto_location) and Understanding the Haversine Formula](https://quad-drone-lab.co.kr/wp-content/uploads/2026/03/0317_인포-768x512.png)
![[PX4 Tuning Series 7] Land Detector Configuration: The Essential Guide for a Perfect Flight Conclusion](https://quad-drone-lab.co.kr/wp-content/uploads/2026/03/Drone-Ground-Contact-Landing-Logic-768x429.png)
![PX4 MAVSDK – C++ Programming [Episode 5] Querying System Information and Using Telemetry](https://quad-drone-lab.co.kr/wp-content/uploads/2026/03/0315_인포그래피-768x512.png)